- November 4, 2024
A Comprehensive Guide to Delta V-Tech Fence Installation: Tips, Tools, and Techniques

A Comprehensive Guide to Delta V-Tech Fence Installation: Tips, Tools, and Techniques
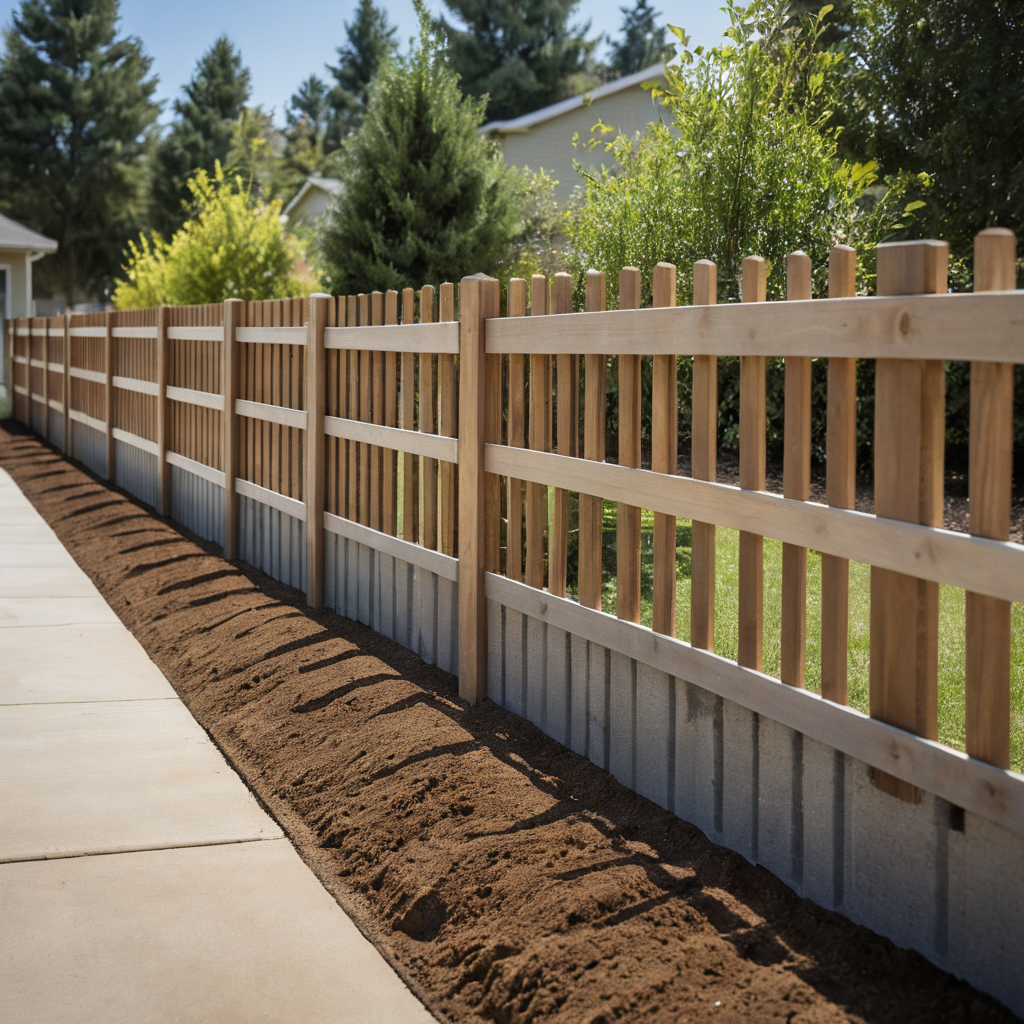
Installing a fence is both a practical and aesthetic investment in a property, providing security, privacy, and visual appeal. For a professional installation, following a detailed and structured approach is essential. Here, we delve into the technical aspects of installing a Delta V-Tech fence, offering expert insights into each step to ensure a durable and effective fence.

1. Determining Post Hole Dimensions for Stability
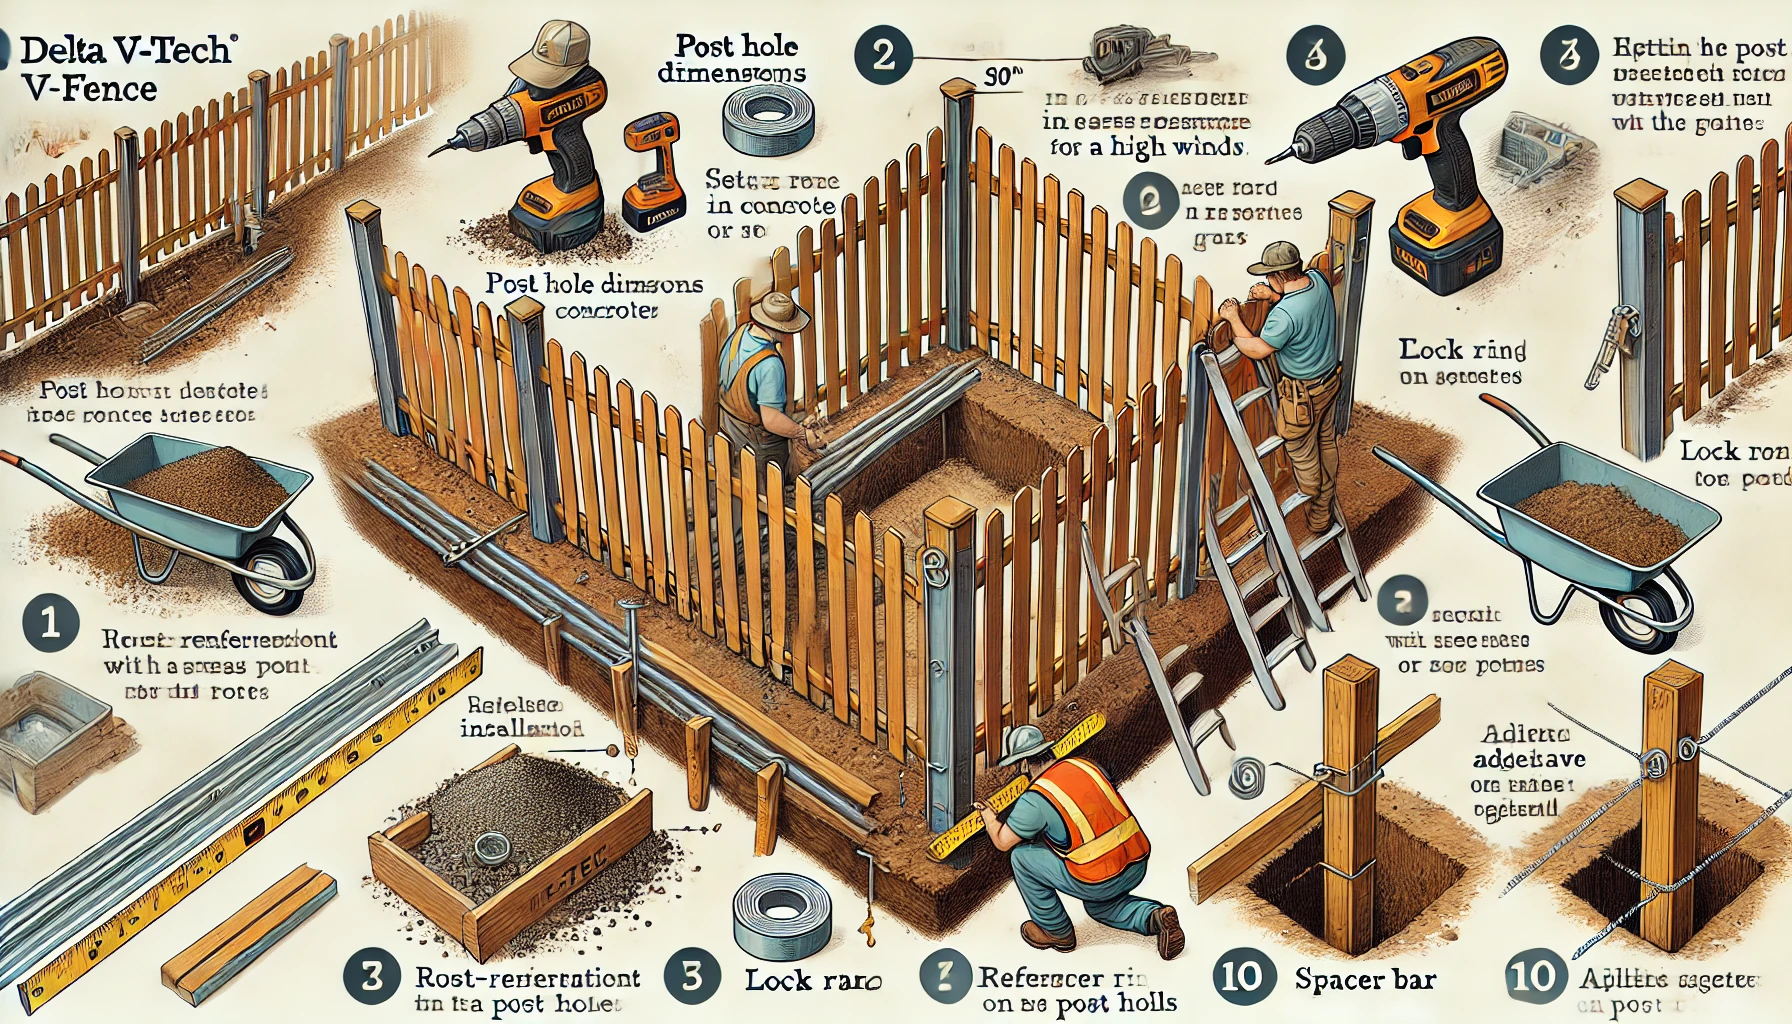
The foundation of a sturdy fence begins with post hole dimensions. As a general rule, post holes should be dug at least one-third of the fence height to ensure stability. For typical Delta V-Tech fences, this translates to around 30 inches deep or to the frost line in colder regions. Post width is also crucial; it should be about 10-12 inches wide to accommodate the post and concrete, particularly for taller or more substantial fences.
2. Ensuring Proper Concrete Curing in All Weather
Properly curing concrete is essential, especially when dealing with variable weather conditions. In colder environments, using warm water for mixing can speed up curing, while in hot or dry conditions, a damp cloth or light covering over the concrete helps prevent premature drying, which can cause cracking. Typically, concrete needs at least 24-48 hours to cure, though in extreme conditions, up to 72 hours may be necessary.
3. Selecting Tools and Rust-Resistant Fasteners
The choice of tools and fasteners directly impacts the durability of the fence. For a Delta V-Tech fence, you’ll need a drill, level, measuring tape, and compatible screws. Opt for galvanized or stainless steel screws, as these resist rust better than untreated metal fasteners, which can weaken the structure over time due to corrosion.
4. Modifications for Extreme Weather Conditions
In areas with severe weather, extra steps can help enhance the fence’s resilience. For example, deeper holes and thicker posts reinforced with rebar or additional concrete offer stability in high-wind regions. In freezing climates, setting the posts below the frost line is critical to prevent heaving during freeze-thaw cycles. Flexible materials can also help accommodate temperature changes and prevent cracks.
5. Adjusting Post Height After Concrete Setting
If the post height needs adjustment after the concrete has set, small tweaks can be made by placing a wood block on top of the post and gently tapping with a mallet. However, for significant height adjustments, it’s best to re-dig and reset the post, as altering height after curing can impact overall stability.
6. Lock Ring Installation for Rail Security
Lock rings are vital for securely attaching rails to posts. To install, insert the lock ring into the end of the rail, depress its tabs, and insert it into the post. Once released, the tabs expand to secure the rail in place, preventing movement over time. This simple yet effective mechanism keeps the fence panels from shifting.
7. Allowing Proper Gaps for Gate Functionality
Correct gap allowances are essential for smooth gate operation. When installing a gate, allow for a 1-inch gap for hinges and approximately ¾-inch for the latch. This space prevents binding due to expansion and contraction and ensures a smooth opening and closing motion.
8. Adding Gravel for Drainage
Gravel plays a crucial role at the base of post holes by promoting drainage, which is especially important in wet climates. A 4-6 inch layer of gravel at the hole’s base prevents water buildup, which can weaken the concrete and cause post rot. After tamping down the gravel, place the post and pour concrete over it.
9. Ensuring Consistent Picket Alignment and Spacing
Uniform spacing between pickets enhances the fence’s aesthetic and structural integrity. Use a spacer bar or template for even spacing, and check alignment frequently with a level. Mark post locations clearly beforehand to avoid any inconsistencies in panel alignment, which can detract from the overall look.
10. Securing Post Caps to Prevent Moisture Damage
To protect posts from moisture, securing post caps properly is essential. Use a weather-resistant adhesive like silicone, or small screws if included. In areas with freeze-thaw cycles, silicone offers flexibility, allowing for seasonal expansion and contraction without cracking. For wetter climates, consider vinyl or composite caps, which resist moisture better than traditional wood caps.
Conclusion
By following these expert guidelines, you can achieve a professional Delta V-Tech fence installation that withstands weather, looks great, and lasts for years. Each step, from setting posts to securing rails, is designed to optimize both functionality and appearance, ensuring your investment provides the desired security and beauty for your property.